The Mad Agriculture Journal
Recipes from the Grain Revival: Khorasan Farfalle
Published on
June 08, 2021
Written by
Lena Miller
Photos by
Jane Cavagnero
The key to getting comfortable with making pasta is finding yourself a trustworthy recipe! I found mine in Mastering Pasta by Marc Vetri. After getting the hang of his egg yolk dough, the way it should look and how it rolls out, I ventured into using the same recipe but with different flours.
Factors I would pay attention to with each experiment were moisture content and how long I spent working the dough. The more whole wheat in the dough, the more moisture I’d incorporate, the more I’d have to work the dough to get it to feel smooth and pliable, and the longer I’d let it rest before rolling out. As you get comfortable making and rolling out pasta, it can become a weeknight staple, easy to whip up and toss with your favorite sauce, herbs, cheese, or seasonal veggies.

In this recipe, I used fresh-milled Khorasan in place of semolina. Khorasan is an ancient grain, high in protein, golden in color, with sweet and nutty flavor. It is often compared to durum wheat (coarsely milled, whole grain durum is also known as semolina). Durum and Khorasan tend to yield a relatively extensible dough. They can be stretched into long sheets without breaking, making them ideal for pasta.
Dan Lisco, the farmer who runs Sombrero Ranch, worked with Mad Ag in 2020 to diversify his crops and support the regional grain market. Lisco grew out three different heirloom varieties of wheat on six and a half acres: Rouge de Bordeaux, Red Fife, and Khorasan.
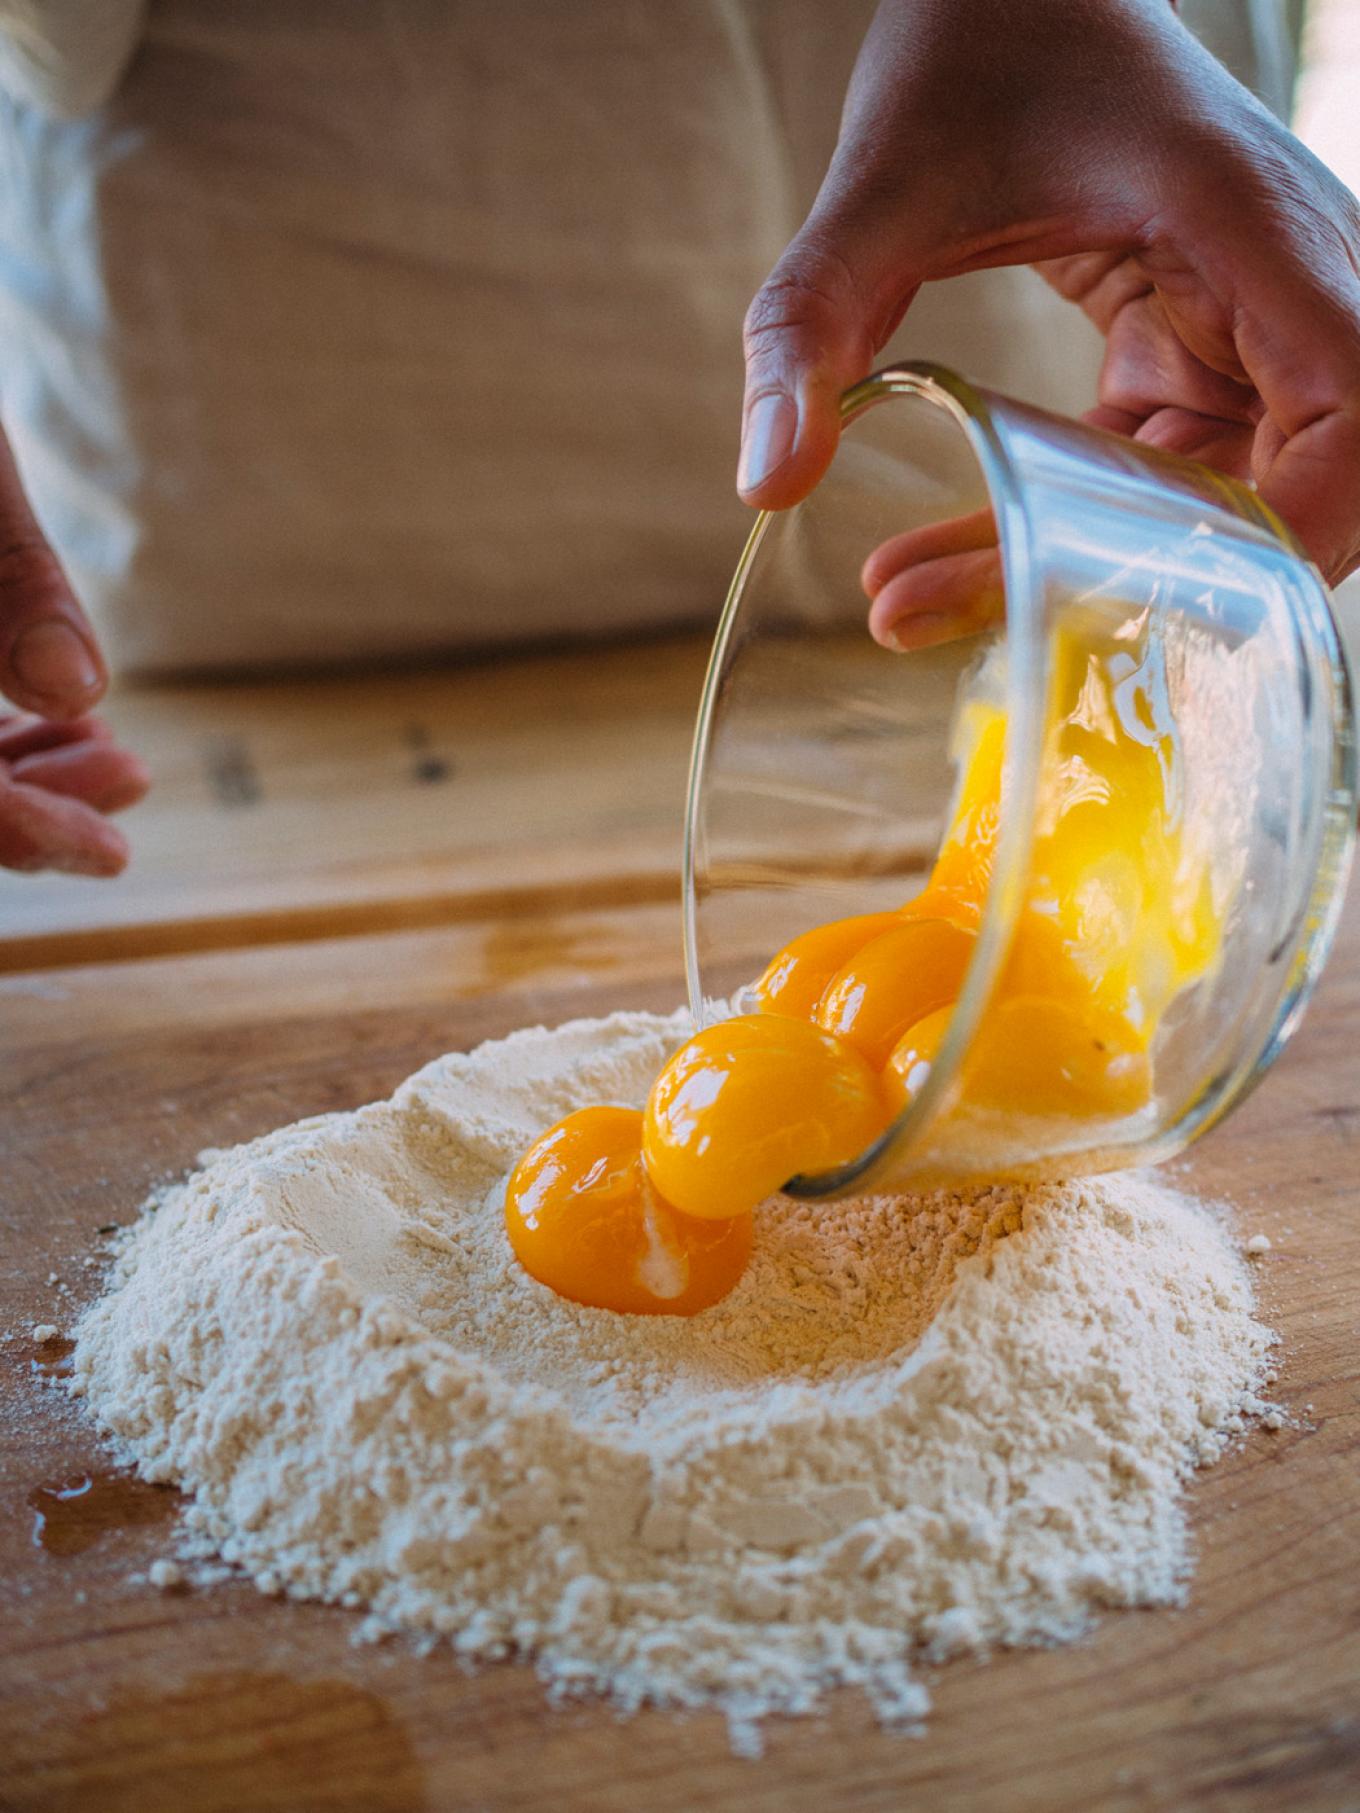
A note about this dough recipe; it calls for 5 egg yolks. I’ve always wondered and Googled my way through the best uses for those leftover egg whites. I’ve made a few angel food cakes, macarons, and meringues but if you ask me, I’ll tell you the easiest, fastest, and most nutritious way to use them is to incorporate them into an egg scramble or frittata.
Lastly, I used all-purpose but standard pasta recipes tend to call for 00 flour. You can use 00 flour but I would start with one tablespoon of water, see how the dough feels, if its too dry, then add the second tablespoon. 00 flour is very finely ground with most of the bran sifted out which generally means it needs less hydration than the all-purpose I use from Dry Storage.
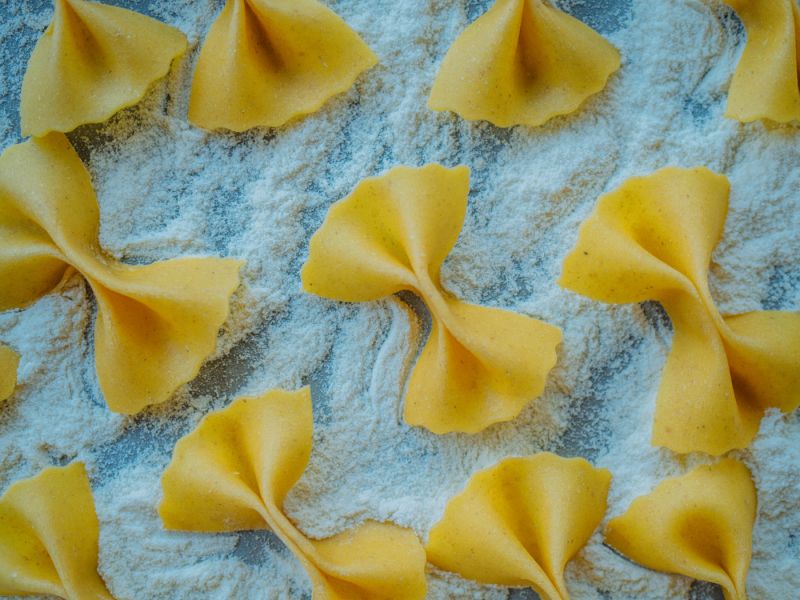
Khorasan Farfalle
Time: 30 min active, 24 hours inactive
Yield: ½ pound dough
Ingredients:
94 g Dry Storage All-Purpose Flour
31 g Lisco Khorasan Flour
5 egg yolks
1 ½ teaspoons Olive Oil
2 Tablespoons Water
Directions:
Using a scale, weigh out the all-purpose flour and Khorasan flour, whisk them together in a bowl.
Create a well in the center of the flour. Pour the egg yolks, olive oil, and water into the center of the well.
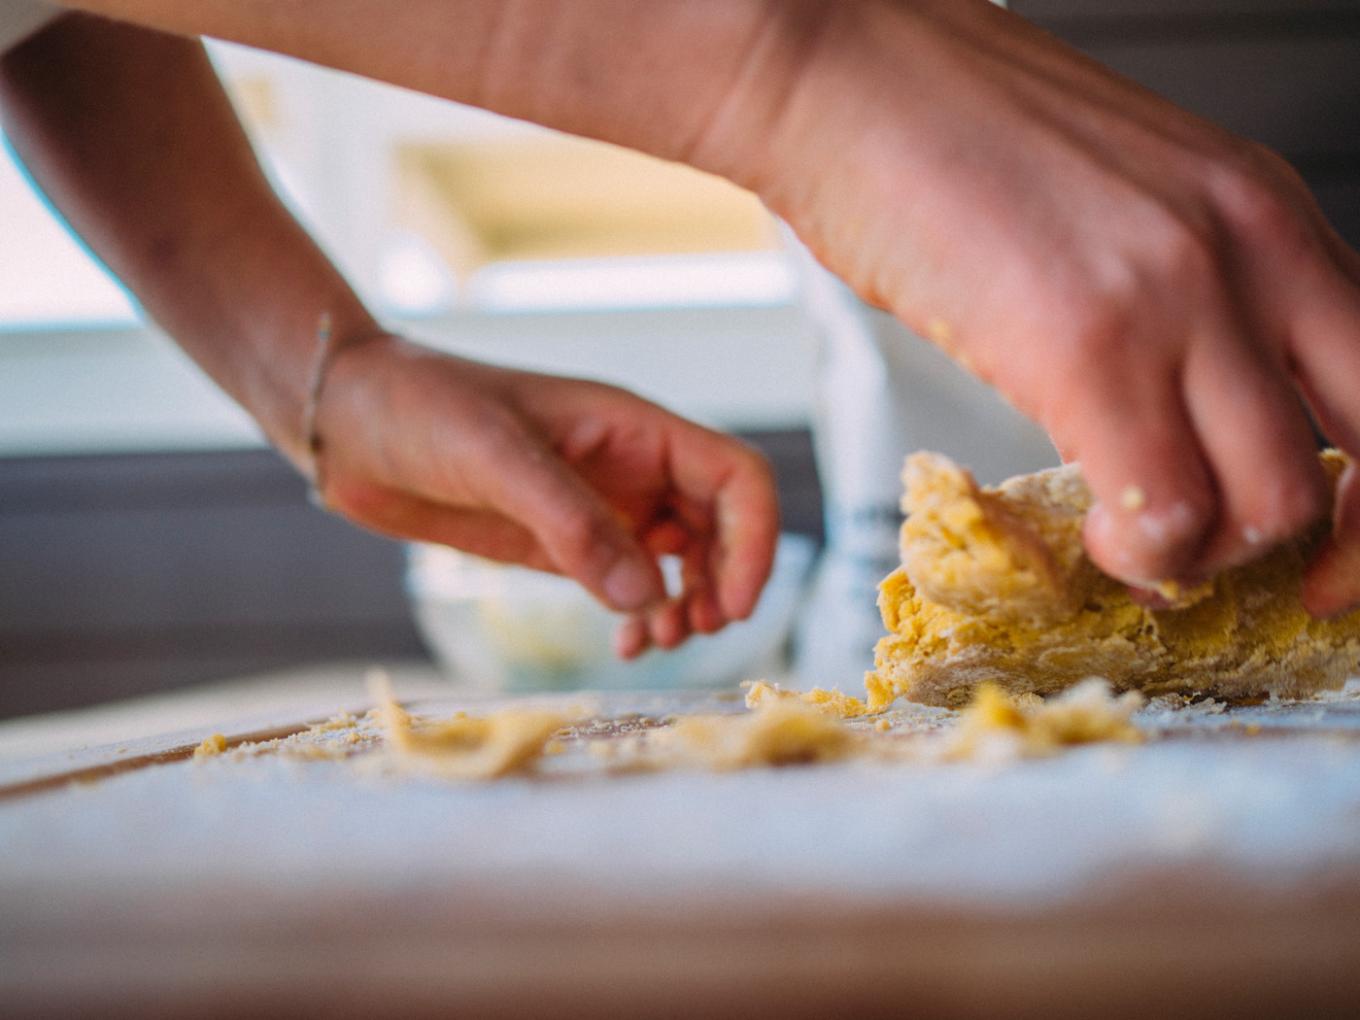
Using a fork, slowly whisk small amounts of flour into the center of the well. Eventually creating a shaggy dough.
Transfer the shaggy dough to a flat, non porous surface, and begin kneading the dough until it becomes one cohesive ball. Cover the dough and let it sit for ten minutes.
After ten minutes of rest, uncover the dough and knead it for another 8 minutes or until the dough feels smooth and shiny. If the dough feels tough, add a small amount of water and continue to knead. I have noticed, in a dough with a higher percentage of whole wheat flour, the dough takes more time to absorb water. My advice is to be patient. If the dough seems borderline too dry, chances are, after sitting for a bit of time, it will hydrate. So be sparing about how much more water you incorporate here.
Shape the dough into a ball, then flatten it to a disc shape. Wrap the dough in plastic wrap and let it rest for at least thirty minutes at room temp, or ideally, in the refrigerator overnight.
To roll the dough out:
Prepare your work area. You’ll want a decent amount of counter space. Place your pasta roller, a bench knife (or knife), a rolling pin, a pasta cutter, a bowl of flour, and a sheet tray sprinkled with semolina.
Divide the dough into two equal pieces. Re-wrap one of the pieces while you begin working the other.
Lightly flour the piece of dough you’re working with on both sides. Using a rolling pin, roll the dough out to a thin rectangular shape, whose width is about the width of the pasta roller.
Set your pasta roller to the widest setting, on most this is a “1” on the dial. Feed your dough through the roller.
Fold the dough onto itself, like an envelope, creating a rectangle again. Using the rolling pin, roll it thin enough to feed through the roller. Feed this rectangle through the roller again, repeat this process at least three times. By doing this, you’re strengthening the dough. While doing this, try to maintain a rectangle with straight edges and ends.
After feeding the pasta through the roller on the widest setting, move the dial one setting narrower, or go from “1” to “2”. Feed the pasta through the roller on this setting twice.
Continue to narrow the roller setting, passing the dough through twice on each setting.
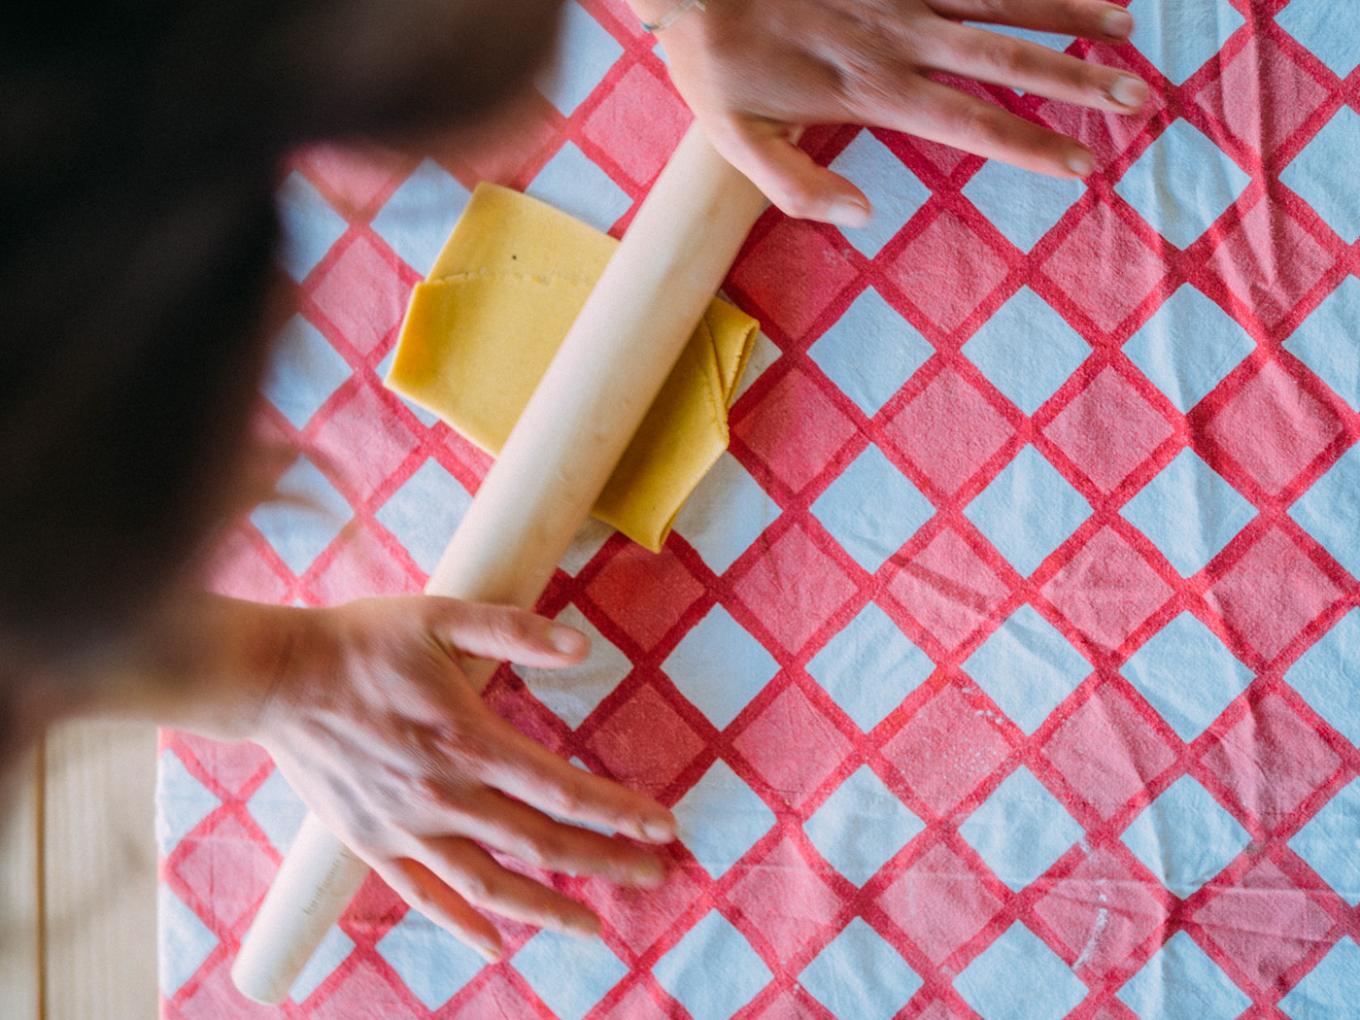
If you’re making Farfalle as pictured, you’ll want to roll your pasta dough to setting 4.
Once you have one long sheet of pasta. Lightly flour the sheet and set it on your work surface. Trim and straighten the ends and edges. Using a pasta cutter, or knife, divide the dough into 2x1inch rectangles. If you have a fluted pasta cutter, use that to cut the shorter edges of the rectangles. This creates the nice wavy wings of the Farfalle.
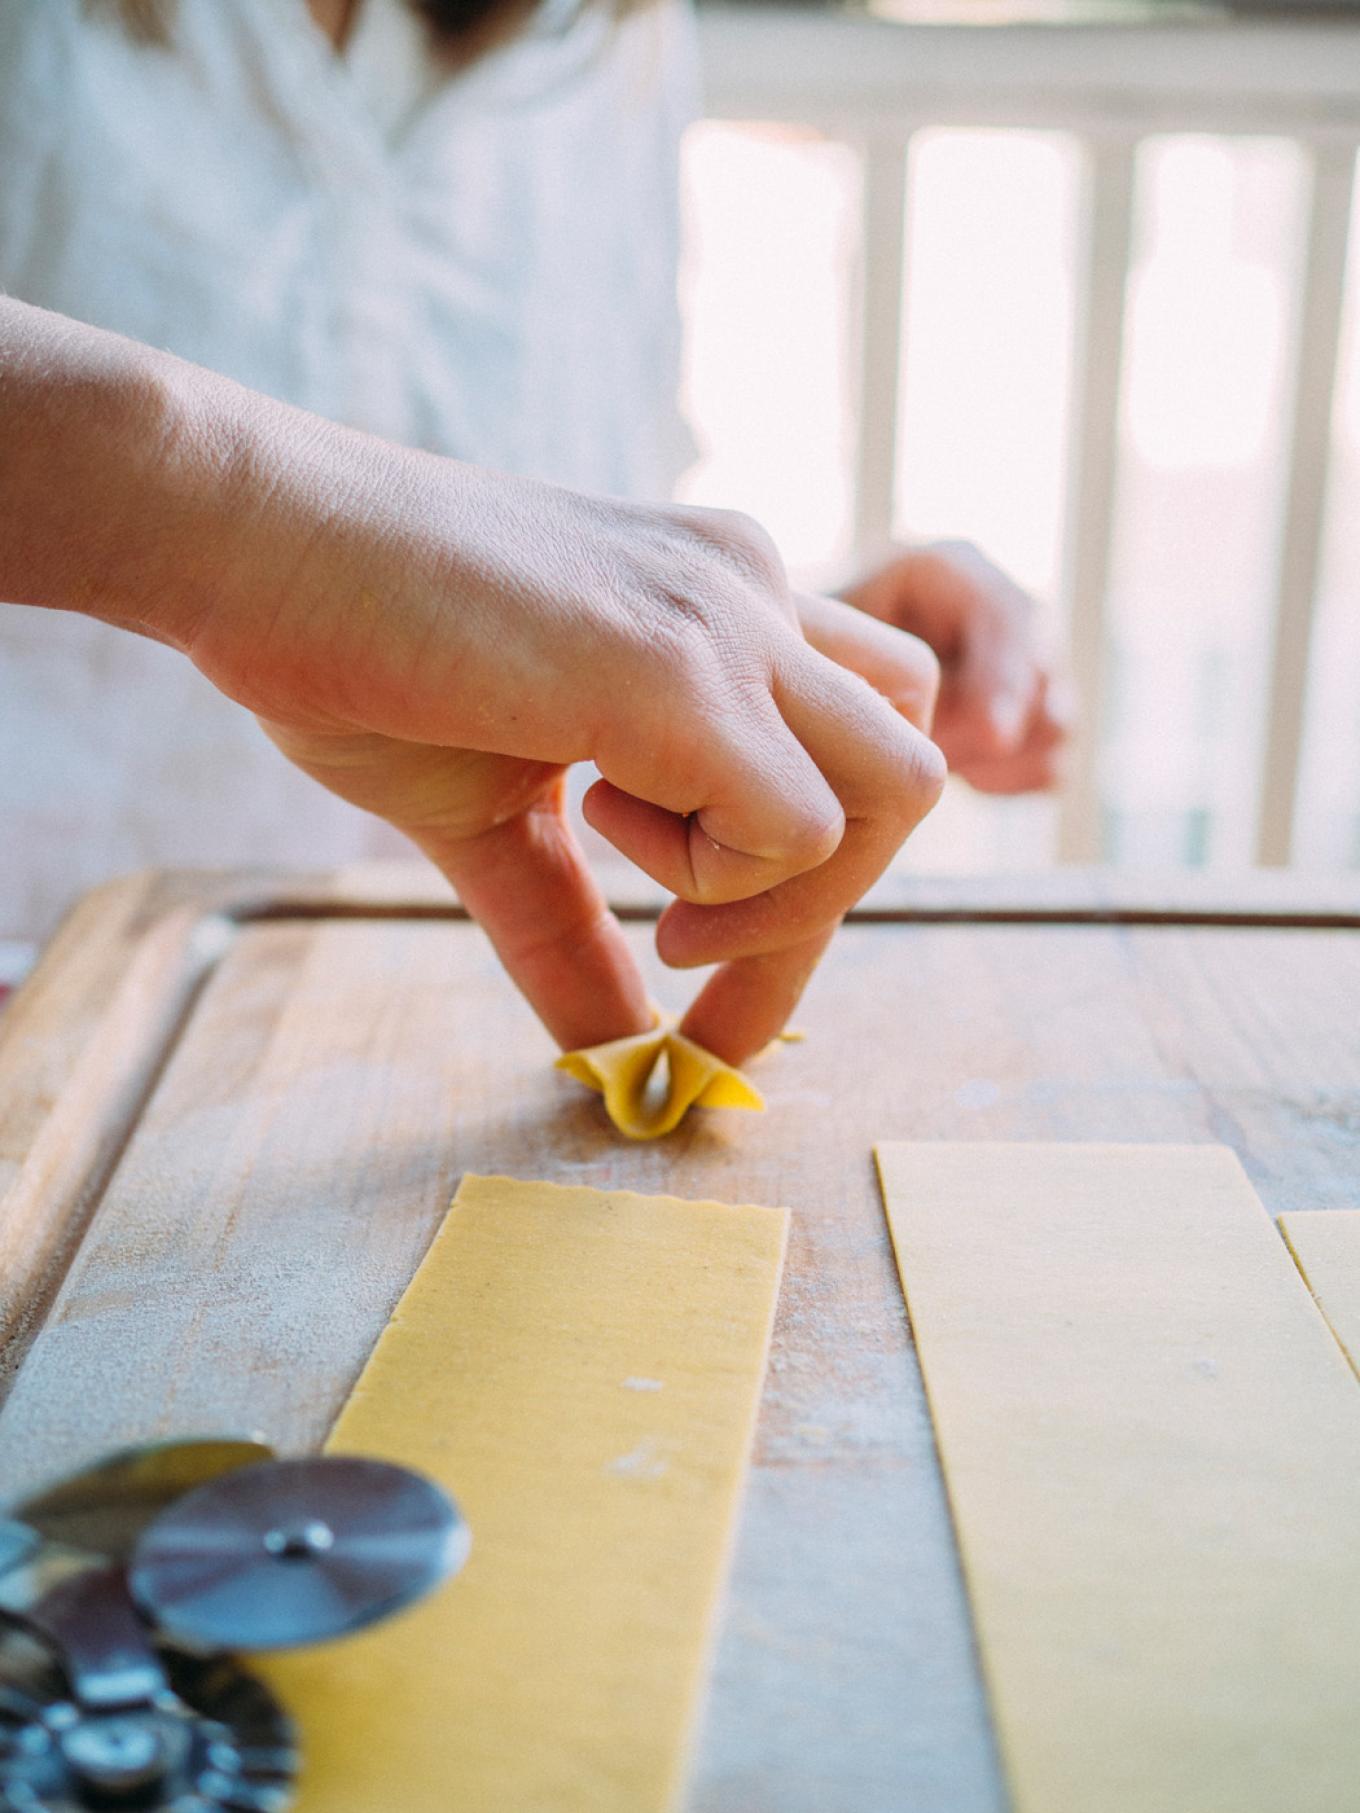
To shape the farfalle, take one of the rectangles, stick your index finger smack dab in the center, with your nail and fingerprint side facing the long edges of the rectangle. Now, using your thumb and middle finger, gently bring the edges up and in toward your index finger, creating a fold on either side on your finger. Remove your index finger and pinch the folds firmly together with your thumb and middle finger.
Place the finished piece of pasta onto your floured sheet tray and repeat till you’ve used all your dough.
Stick the sheet tray of pasta in the freezer or fridge until you’re ready to cook it. If not cold, the pasta pieces will begin sticking to each other.
To cook the pasta:
Fill a pot with water and a hefty pinch of salt (the water you cook your pasta in should be salty like the sea) and bring to a boil.
Drop your pasta into the pot when ready, give them a quick stir to prevent the pieces from sticking and set a timer for 45 seconds. Taste a piece at 45 seconds. It is likely close to or already done. You’ll want to strain the pasta when it still has some bite, or is al dente as they say.
Reserve about a ¼ cup pasta water and strain the rest off.
Toss the pasta with your favorite sauce, cheese, herbs, spices and or veggies and a splash of the reserved pasta water.
Buon appetito!