The Mad Agriculture Journal
Recipes from the Grain Revival: Apple Galette
Published on
November 30, 2020
Written by
Lena Miller
Photos by
Jane Cavagnero
Lee esto en español.
Galettes are one of my favorite desserts. You can fill them with whatever fruit is in season and eat them at any time of day. More recently, I have found that they are a great way to showcase different kinds of wheat. For the testing of this recipe, I got to mill my own White Sonora at Moxie’s Feed and Seed in North Boulder.
Baking with freshly-milled whole wheat flour is an incredible, if not sometimes puzzling, experience for the home baker. Every batch of fresh-milled, nutrition-filled, whole wheat performs differently. This galette recipe has been a go-to for me for a long time. It is just a reliable classic. It’s from Alice Waters’ Chez Panisse “Fruit” cookbook, a recipe passed to them from Jacques Pepin. I’ve altered it slightly to account for the whole wheat. I’ve also included a method for optimal butter distribution that I’ve picked up in my travels. It seems funny, but I promise it works! I chose Moxie’s White Sonora because it’s a lovely, soft white wheat that works well in pastries. I recommend giving it a go with White Sonora then trying other types of whole wheat and observing the differences between them.
Apple Galette
Yield: 2 galettes
Time: 2.5 hours
Ingredients:
1 cup all-purpose flour
1 cup Sonora White
2 tsp sugar
¼ tsp kosher salt
14 tablespoons unsalted butter, cold
5-7 tablespoons ice water
6 medium apples
1 lemon
Powdered sugar for dusting
Directions:
In a large mixing bowl, whisk together both flours, sugar and salt.
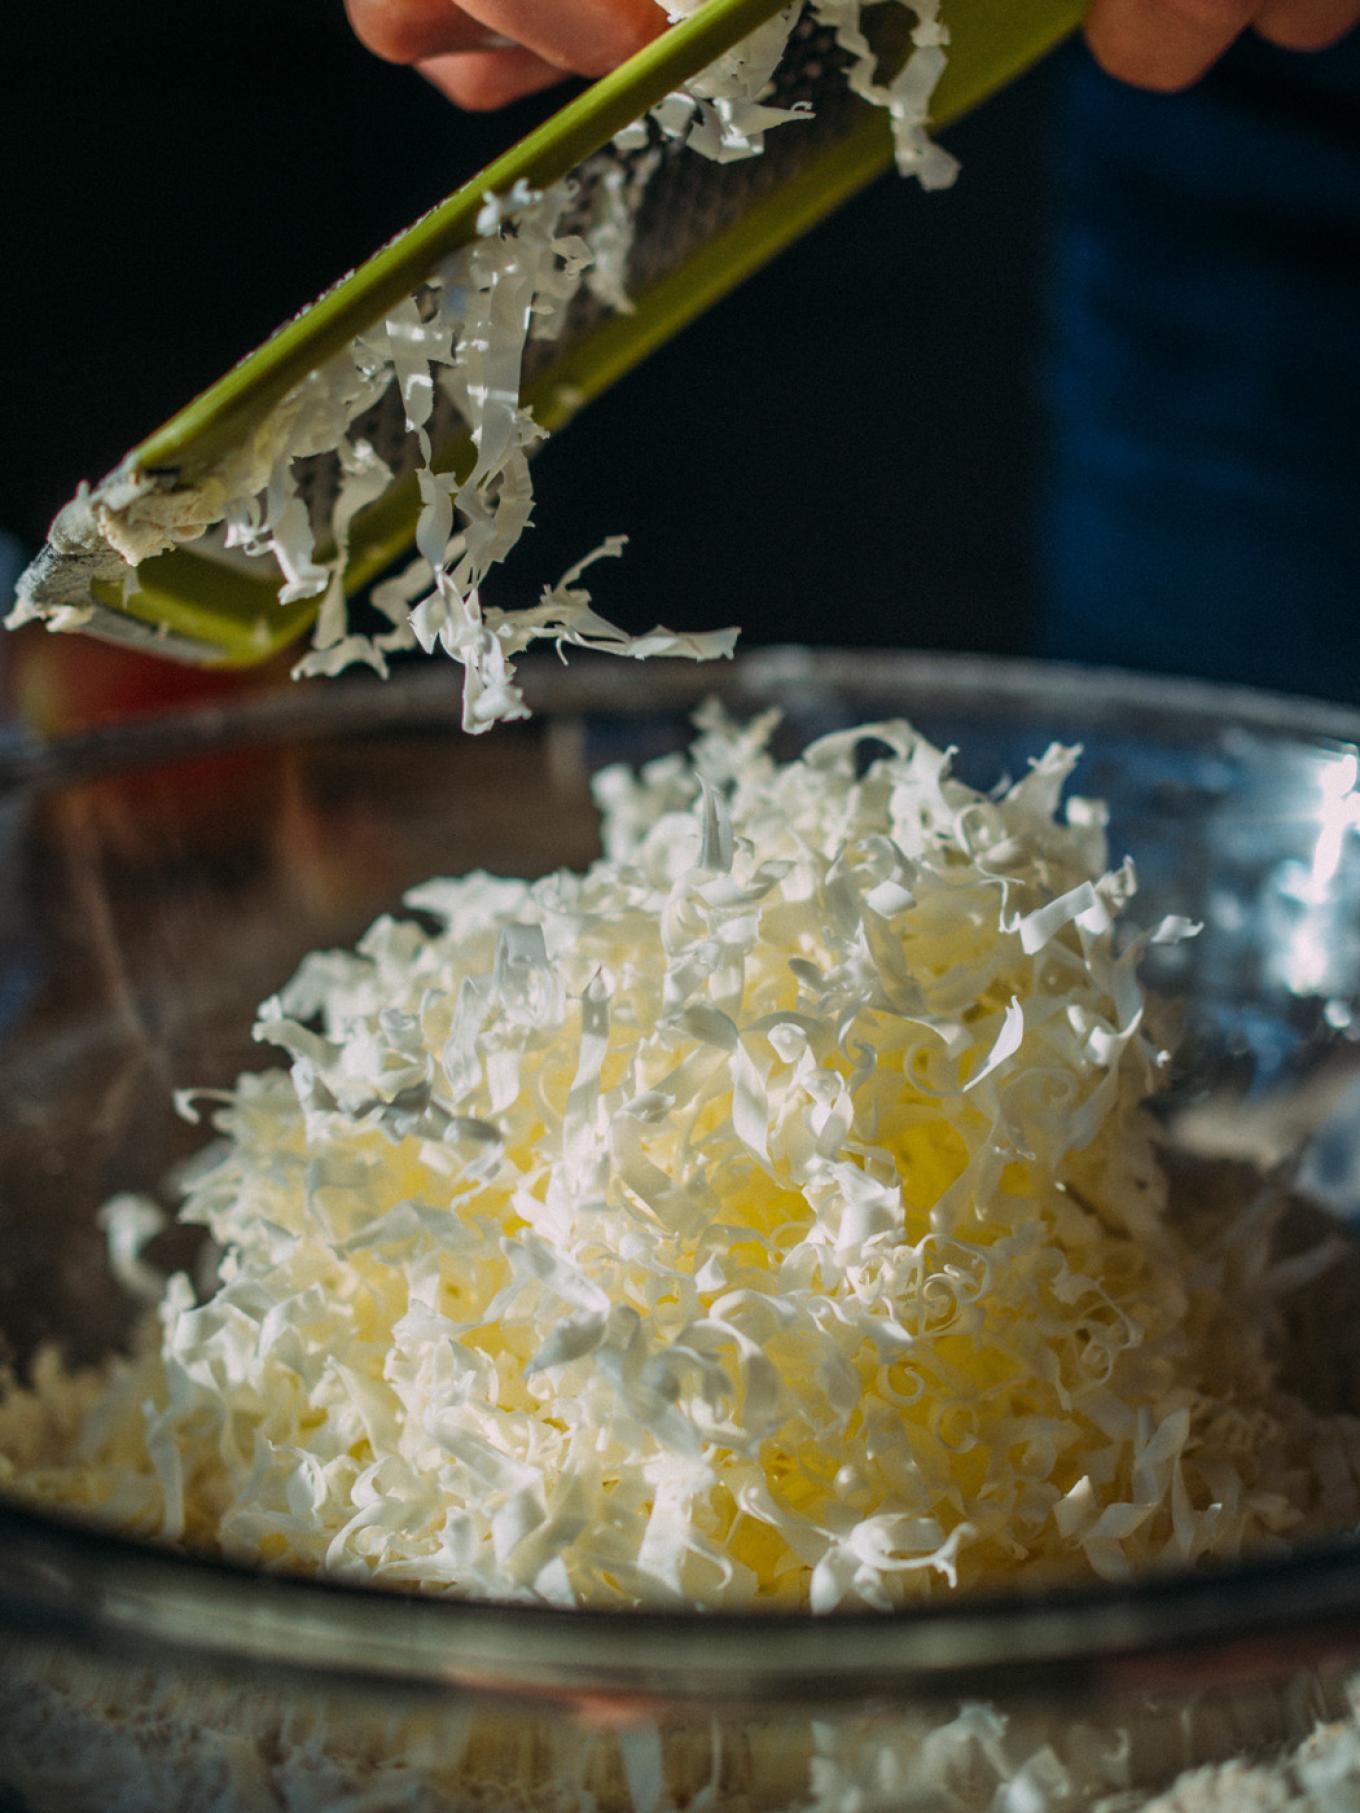
Using a box grater, grate your 14 tablespoons of butter into the bowl with the flour.
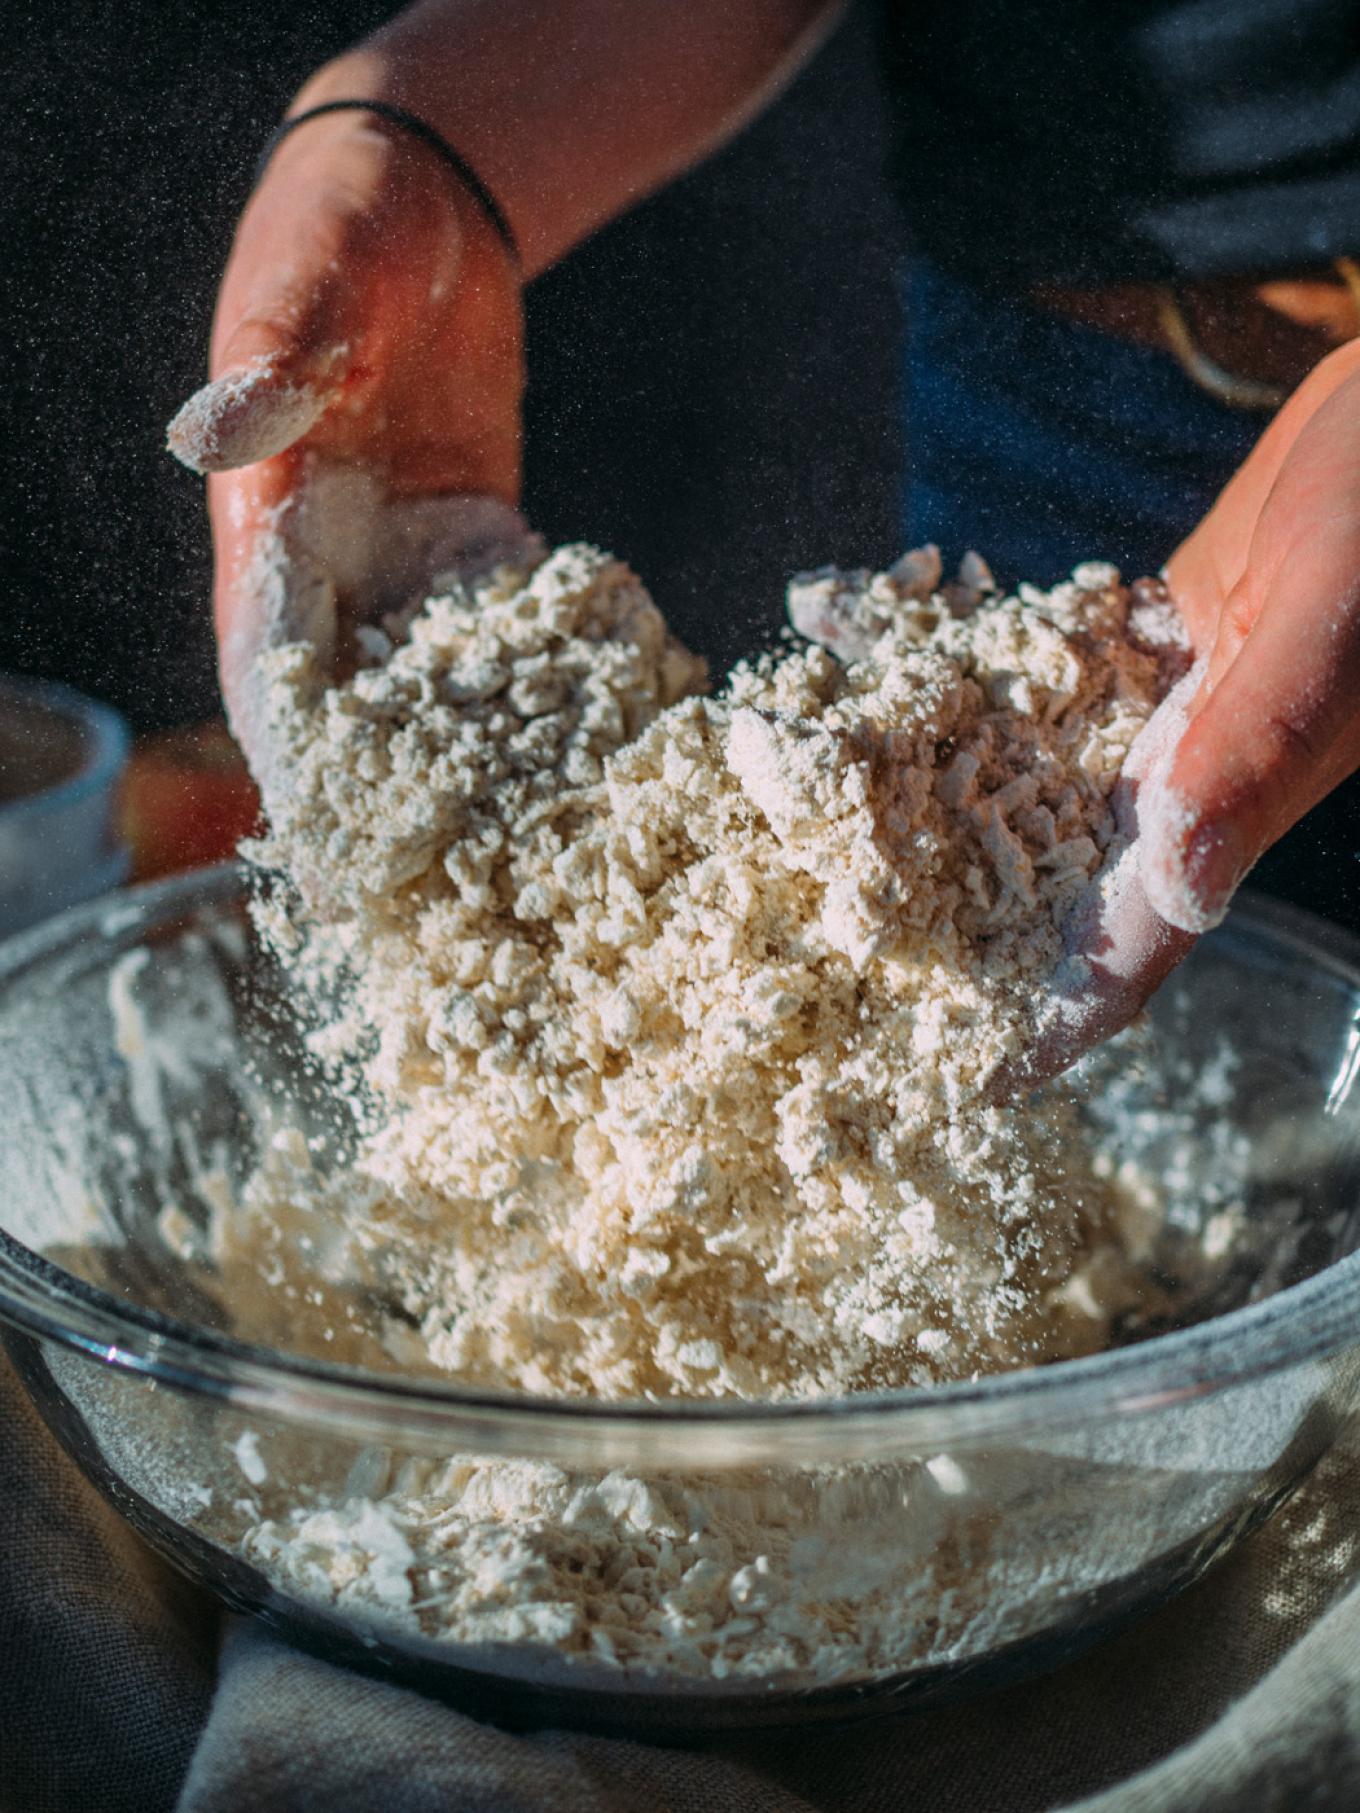
Using both hands, gently “fluff” the flour and the butter together. What do I mean by fluff? You are going to dig both hands into the bowl and lightly curl your fingers and hands as you pull up, tossing or fluffing the flour. Continue mixing this way. The mixture will start to resemble a coarse meal. Although it is tempting to knead the dough, I recommend restraining yourself. The larger flakes of butter are going to make your crust extra flaky.
Now, you’re going to incorporate 2 tablespoons of ice water at a time. After each tablespoon, incorporate the water with a few more fluffs.
When the dough starts to hold together (you can give it a little squeeze) but isn’t sticky or wet, gently turn the dough onto a clean work surface and form into two equal sized discs with the palm of your hand.
Wrap each disc in plastic wrap. Through the plastic wrap, you can smooth out any cracks in the dough.
If you are using this dough today, stick the fridge for at least 1 hour before rolling out. You can also freeze the dough if you think you won’t be using it in the next 24 hours.
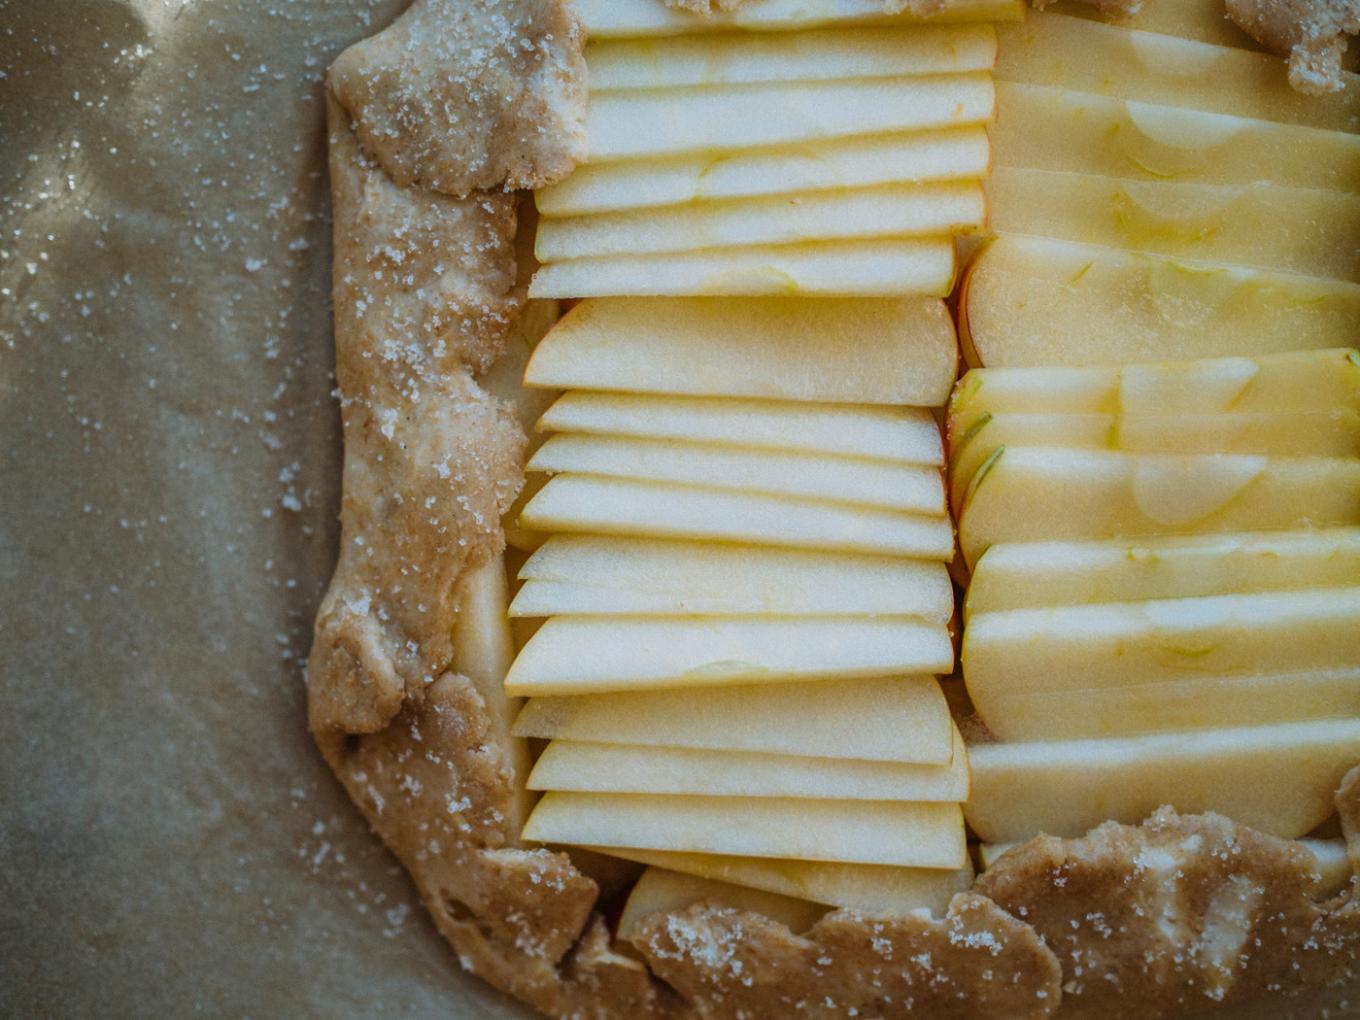
Now, we’re going to prepare our apples. I used Honeycrisps because I just love their flavor. Rinse your apples and thinly slice. Keep like sized slices together for a neat assembly and presentation in the end. Squeeze half a lemon over the slices to keep them from turning brown.
Remove your dough from the fridge, lay out a piece of parchment paper and sprinkle it with flour. Unwrap your dough and transfer to the piece of parchment paper. To make this process super easy, I like to take another piece of parchment paper or plastic wrap and lay it on top of the dough disc. - sandwiching your dough between two pieces of parchment or plastic wrap. Now, roll your dough into an 1/8 inch thick round sheet. It’s okay if your dough has rough edges, galettes are meant to look rustico! It’s part of their charm.
Once your dough is rolled out, transfer it to the baking sheet, lifting it by the parchment paper. Keeping a one inch boundary around the edge of the dough, assemble your apple slices. You can get creative at this point by arranging the apples in a spiral, or columns, or just pile them up. I recommend making at least two layers of apple. The steam between them will bake the apples further and create a thicker, fruitier, slice of galette.
After assembling the apples, pick up one edge of the crust. Fold the crust inward, with about one inch covering the fruit and the majority of the apples exposed. Continue folding the edge of the galette toward the center. For a neat presentation, try to make each fold equi-distance apart. There will be dough overlapping and that is okay!
Once you’ve finished your folds, use the second half of the lemon to squeeze over the apples, careful not to drop any seeds. Lastly, sprinkle a bit more granulated sugar over the exposed dough and apples.
Stick your galette (on its sheet tray) in the fridge while you preheat your oven to 400°F.
When your oven is ready, remove your galette from the refrigerator and bake for 35-40 minutes. I check mine after 25-ish minutes to see how it’s doing. Bake until the crust is golden brown and the apples have softened.
Remove galette from the oven and let cool for 10-15 minutes on a wire rack. Sprinkle it with powdered sugar before serving. I recommend serving with ice cream or whipped cream. Can be stored at room temperature, wrapped in tin foil.