The Mad Agriculture Journal
Baking with Kernza
Published on
July 08, 2022
Written by
Jennifer Latham
Photos by
Sophia Piña-McMahon
The first time that I got to bake with Kernza, I could immediately tell that it was different from the other wheats that I was used to baking bread with. At the time, I was a bread baker at Bar Tartine, a restaurant in San Francisco. The signature bread there was a large, crusty loaf with a light, open, craggy, custardy crumb. Known as “country bread”, these loaves need a particular type of high-gluten wheat to create their distinctive, lacy interiors.
While I was working at Bar Tartine, my boss Chad Robertson was doing a lot of traveling and grain sourcing in Scandinavia and other parts of the world. In these places, the grains that have been traditionally grown for millennia don’t have the stretchy, strong gluten character necessary to make a fluffy loaf of bread. They do, however, have exceptional flavor profiles and nutritional value, and the baking traditions that have coevolved with those grains tend to maximize those qualities. Each time he returned from his travels, Chad brought back wheats like Øland and other grains like rye – and some new friends and recipes to go along with them.
When I first got a hold of Kernza and realized it wasn’t ideal for country bread, I started trying to learn more about the qualities that it did have so that I could reverse-engineer some recipes to optimize it. Baking this way involves acting a lot more like a chef than a baker. A baker usually starts with a recipe, then seeks out specific ingredients to execute it. But a chef will often start at a market. They’ll see a particular piece of produce that inspires them, maybe an heirloom melon or some unusual field greens. That item is then the springboard for a dish. The flavor of that one thing leads into the flavor of another, and eventually the form of the dish emerges.

One of the first things I noticed about Kernza is that it scalds nicely. Scalding grain is an old technique, used in the Tangzhong method for Japanese milk bread and in Eastern European baking traditions. What those traditions have in common is grains that don’t form long, strong gluten chains, either because they are low-protein (like soft Japanese wheat) or because the character of the gluten is shorter or more friable (like rye.) I also noticed that when you cook whole-grain Kernza flour with water, it becomes beautifully glossy and shiny and sets up firmly when cooled. When I added Kernza porridge to a country bread dough, the cooked grain added great texture and flavor to the bread.
One of the other great baking traditions that evolved around low-protein flours is crispbreads and crackers. Rye crispbreads go so far back in Northern and Eastern Europe that the origins are lost to time. Traditionally, crispbreads have a hole in the middle that was originally used for stringing them up above the fire, where they kept for months and fed families through long, cold, food-scarce winters. Crackers are still an incredible way to store a lot of nutrition (and flavor) in a very stable, portable way. As long as I have crackers, I never go hungry.
Two of those ideas, the scalded grain and crispbreads, were the inspiration for these seeded Kernza crackers.
Kernza is a relatively new grain and doesn’t have the generations of baking trial-and-error to inform its best use. But that’s the exciting thing–the possibilities are endless. We know Kernza is delicious, healthful and incredibly beneficial for the environment. That’s a great starting point. As bakers, it’s now up to us to decide where we go with it from here.

Seeded Kernza Crackers
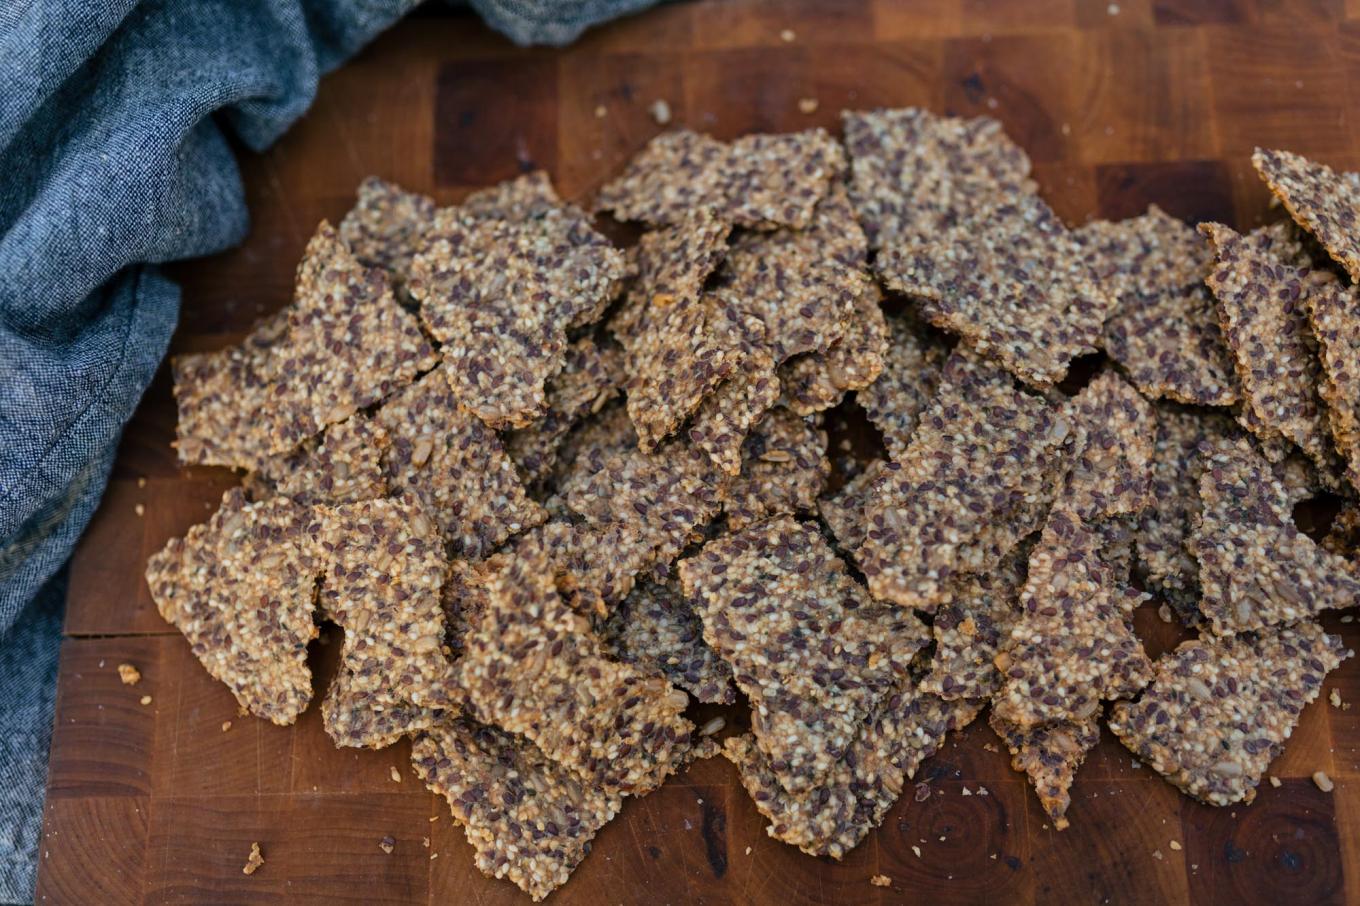
These crackers are packed full of flavor and nutrition. Hemp seed and Kernza load these up with protein and energy. They come together in a matter of minutes and bake low and slow, filling the kitchen with toasty, grassy, seedy-smelling goodness.
Ingredients:
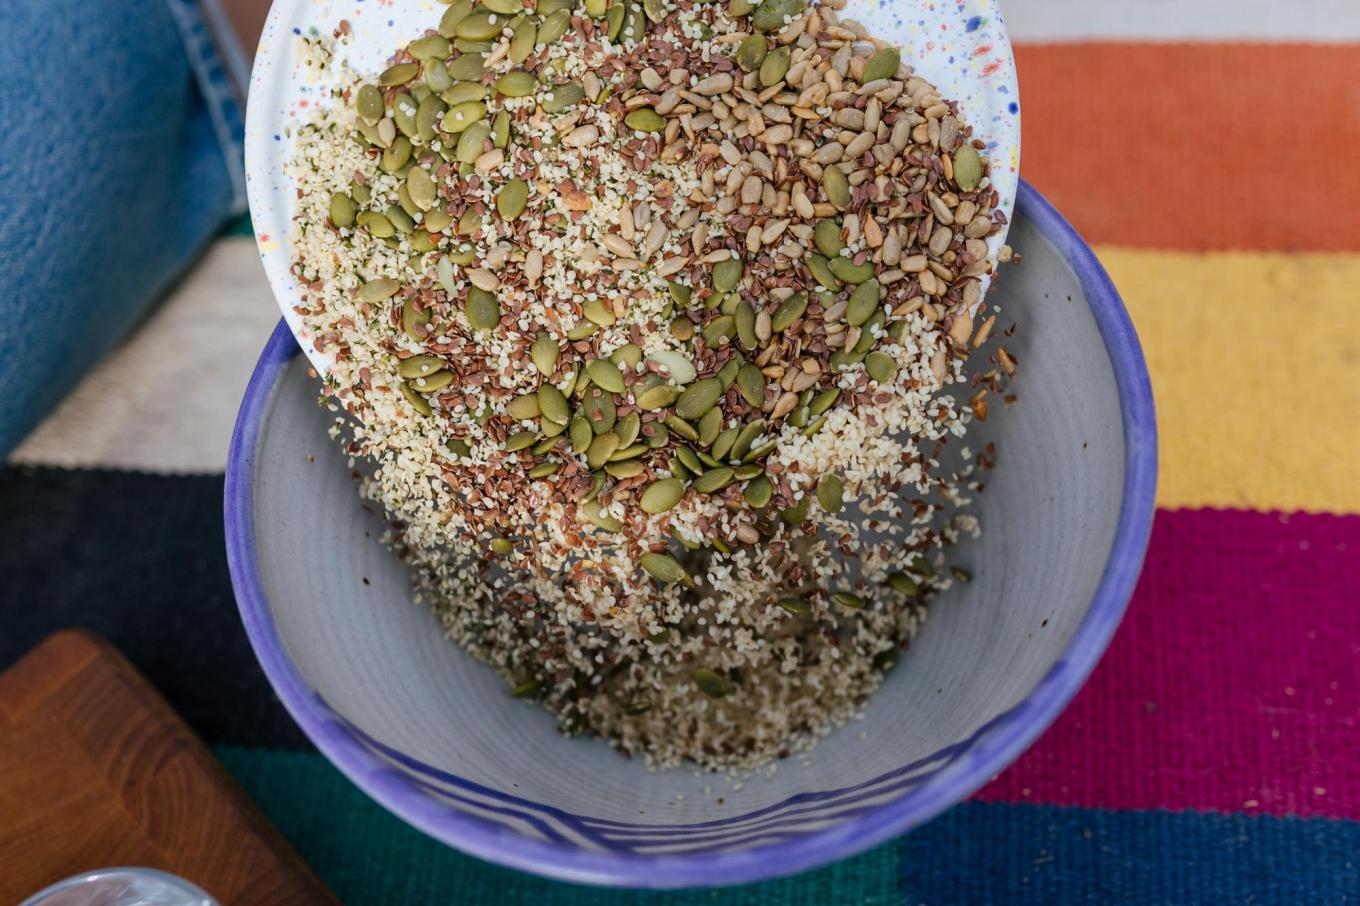
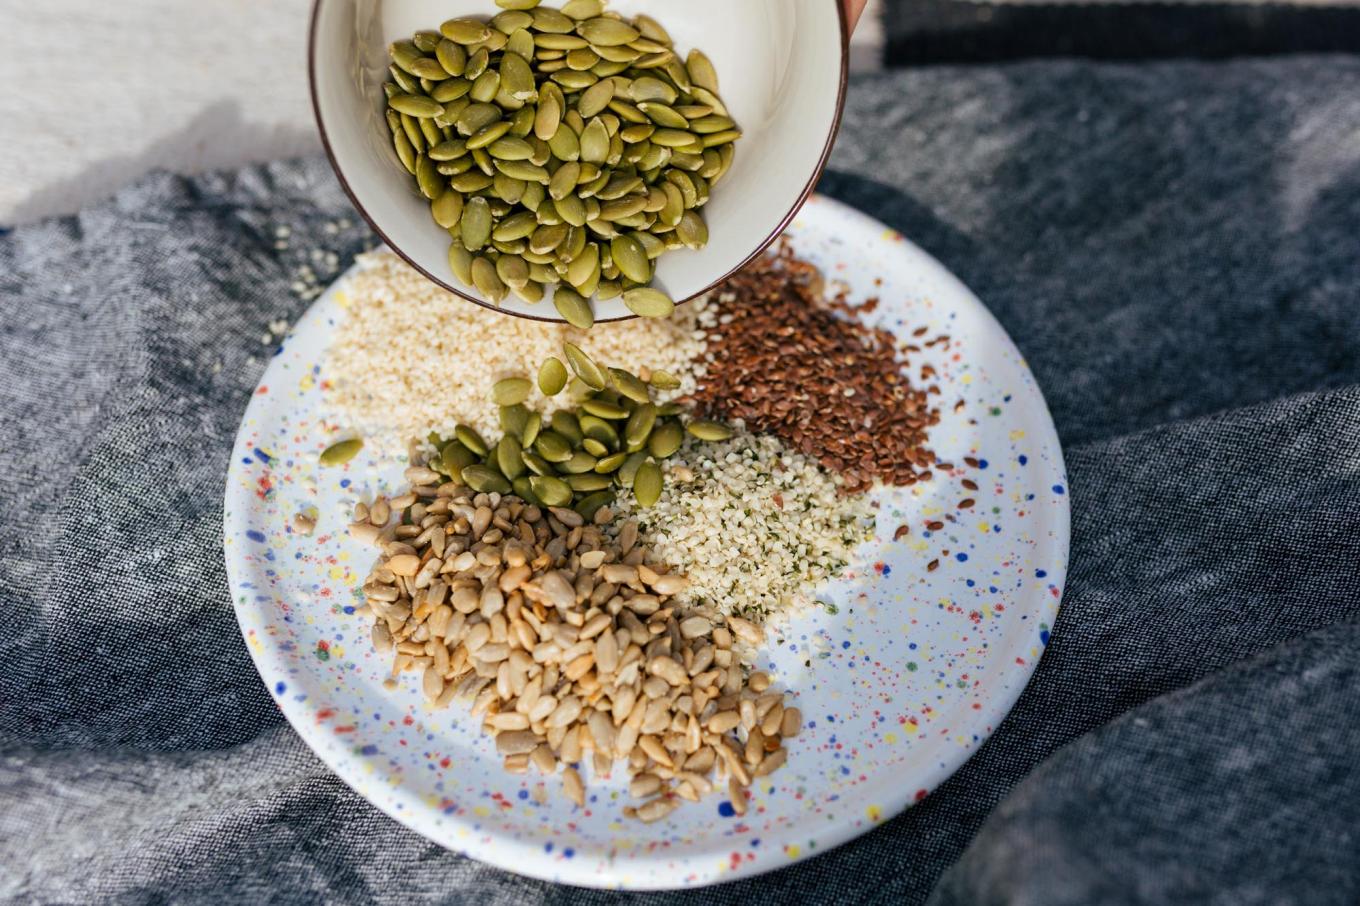
70g flax seeds
55g hemp seeds
55g sesame seeds
55g pumpkin seeds
55g sunflower seeds
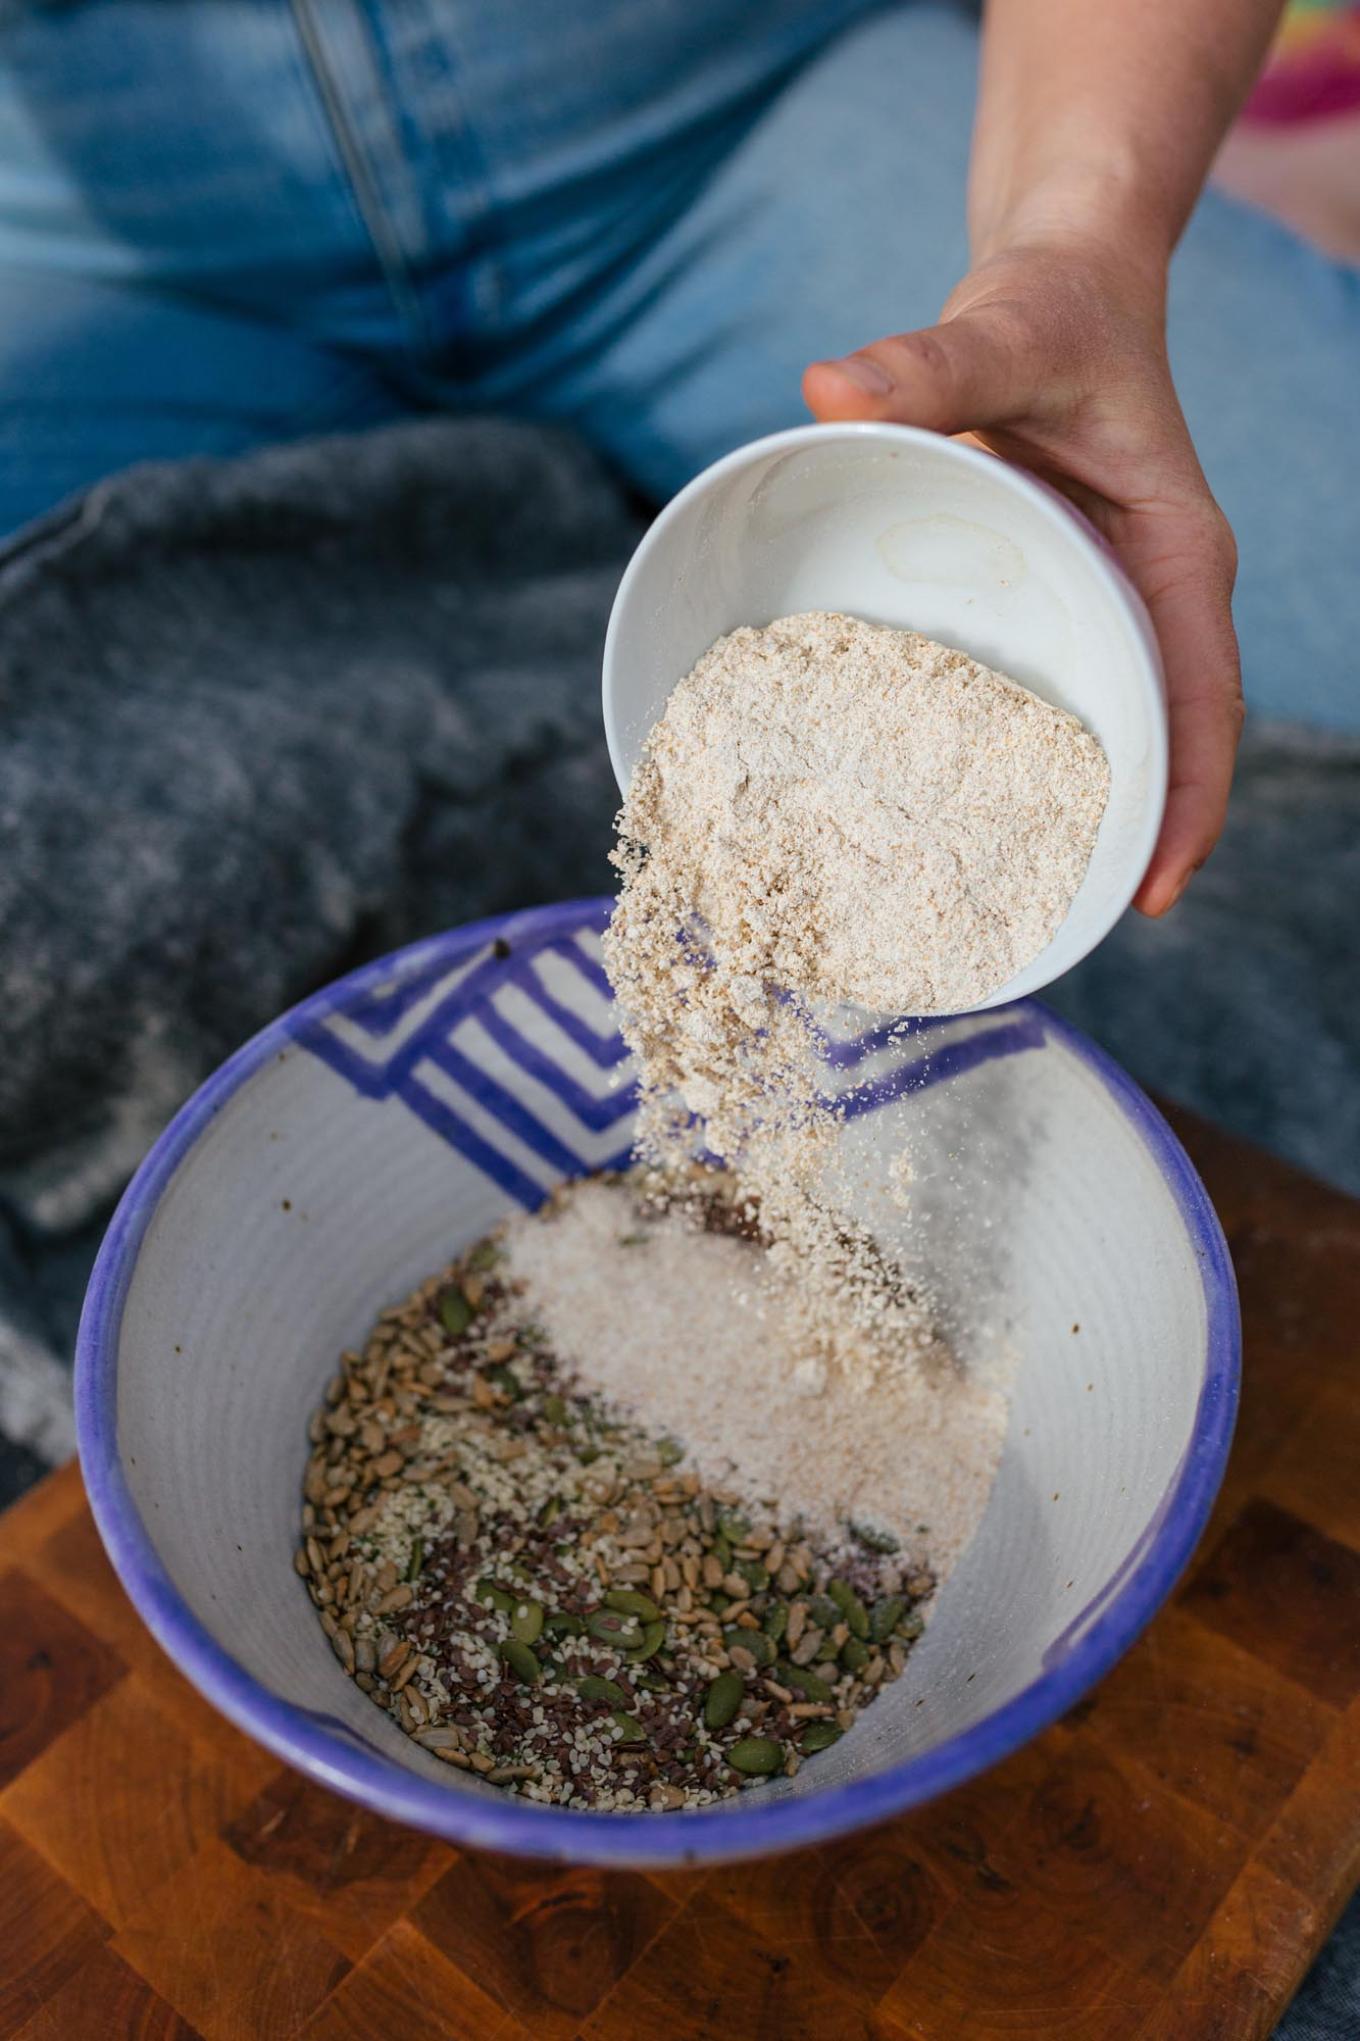
60g whole grain Kernza flour
40g corn starch
5g sea salt
50g olive oil
300ml boiling water
Directions:
1. Mix all the dry ingredients together.
2. Pour the olive oil over the dry ingredients and stir well to combine.
3. Pour the boiling water over all the other ingredients and stir just to combine.
4. Let sit for 10 minutes. Preheat the oven to 250°F.
5. Use a spatula dipped in hot water to spread the cracker dough out on two lined sheet pans. The dough should spread thinly, covering the sheet pan.
6. Bake the crackers for one hour, then rotate the sheet pans in the oven so that they bake evenly. Bake for 30-40 more minutes, until golden brown and fragrant.
7. Let cool completely on the pans, at least one hour. Remove the crackers and break into serving-size pieces. If the crackers stick, use a metal spatula to gently remove them. Serve with hummus, spinach dip, cheese, or simply enjoy as is. Store in an airtight container for up to 10 days.


